Smooth, dewy, poreless and radiant… if that’s what you want your skin to look like, there’s a K-beauty trend you need to jump on and it’s going viral on TikTok – glass skin. Just like the name suggests, the idea behind glass skin makeup is to make your skin look so flawless that it almost looks like glass, with a lit-from-within glow that you can easily achieve with the right skincare and makeup products.
Wondering how? Read on as makeup artist Ross Andrewartha reveals how to get glass skin in 7 steps, using his Clinique favourites.
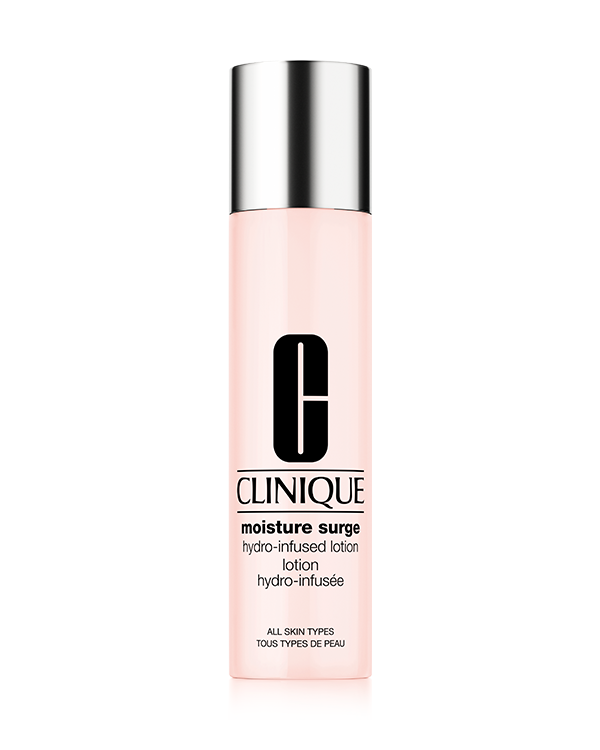
Step 1: Moisture Surge Hydro-Infused Lotion
Just like us, Ross believes that “beautiful makeup starts with beautiful skin”, so it only makes sense that his glass skin routine starts with a deeply moisturising product: our new Moisture Surge™ Hydro-Infused Lotion.
Supercharged with aloe bioferment and hyaluronic acid, this replenishing watery lotion will infuse your skin with stabilising hydration while refining your skin’s texture and creating a luminous glow that goes perfectly with a glass skin look.
“When you use a lotion, it gives you the opportunity to really work the product into the skin and get that blood flow going,” Ross explains “and it helps your skincare get into the deep layers of the skin.”
To apply this lotion, you can use a cotton pad or, if your skin is on the drier side, simply massage the product on using your hands.
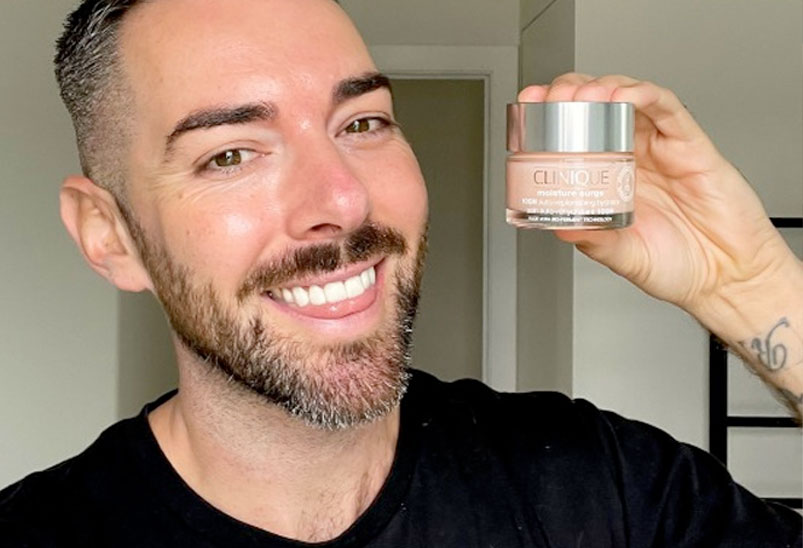
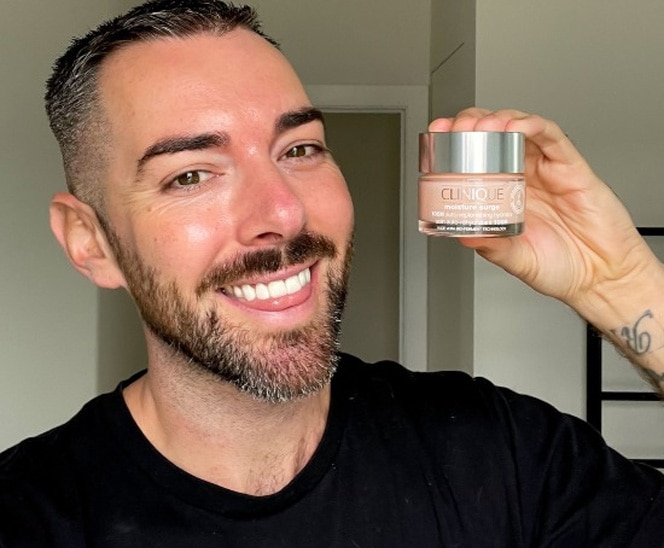
Step 2: Moisture Surge™ 100H Auto-Replenishing Hydrator
Next up on Ross’s glass skin makeup tutorial is our iconic Moisture Surge™ 100H Auto-Replenishing Hydrator, because who doesn’t love an extra dose of refreshing hydration? The gel-cream helps your skin lock in moisture for that plump, dewy glow you want to achieve, especially when paired with the lotion.
He applies the product all over the face, always making sure to be gentle on the skin: “When I put Moisture Surge on, I’m not being aggressive. I'm just layering it on almost like it’s a night mask and letting it do its magic.”
Plus, he makes sure to spot check his skin and look for any areas that might need some extra TLC. On “any dry pockets I can see, I go in almost like you go in with concealer, or if you’ve got problematic skin and you flare on a certain area,” he explains, “it’s really important to go and spot that because when you put foundation on, sometimes that foundation can separate,” which you can avoid by properly prepping your skin.

Step 3: Chubby Stick Sculpting Highlight
Once your skin is nice and dewy, it’s time to add light to your face. Applying a cream high-lighter before the foundation is key to achieving a subtle sheen. Ross loves using our Chubby Stick Sculpting Highlight. Not only will this cream highlighting stick add dimension to the glass skin look, but it will also smooth out your complexion and as a result, you’ll end up not applying as much foundation, letting the skin breathe more easily.
To apply the highlighter, simply massage it on the cheekbone so it melts into the skin. “If you have an oily T-zone, don't do too much around the area - just tease a little bit,” Ross mentions. Finish off with a touch on your cupid’s bow and chin for a flawless pop of brightness.
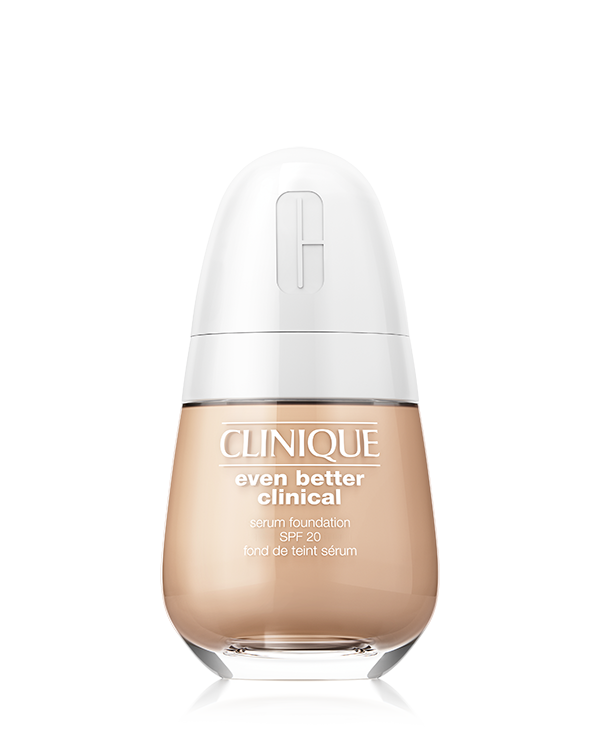
Step 4: Even Better Clinical™ Serum Foundation SPF 20
“If you’re looking for a hydrating, skincare-infused foundation, the Even Better Clinical Serum Foundation is a good one to play with,” Ross suggests.
“It’s rich with hyaluronic acid and vitamin C, so it’s going to help brighten your skin” he says, and it “really does all the work for you. It’s a matte to satin finish and it’s self-setting so you don't necessarily need a powder with it – you can just work it on.”
When it comes to application, Ross likes to use a fluffy brush, but a traditional foundation brush would work as well. He suggests putting 1 ½ pump of foundation on your hand, holding the brush towards the end and picking up tiny bits of product at a time, rather than working it all onto the brush. This way, he can guarantee a ‘your-skin-but-better’ finish that doesn’t feel cakey or too heavy, which is exactly what you want for this glass skin look.

Step 5: Even Better All-Over Concealer
Once you’re happy with the foundation, it’s time to conceal your under-eyes and any dark spots. Using a fluffy brush again, Ross chooses the Even Better All-Over Concealer for this step, making sure to go two shades lighter than his skin tone.
Focusing on the under-eye area and working his way closer to the temple, he gently massages the product in for what he calls a mini facelift: “I just go in with a tiny, tiny bit of concealer and I just buff it in.”
For makeup beginners, he also suggests taking some time here to add some more dimension to the glass skin look with a quick and easy pro tip. “If you're not comfortable with contouring at home,” the makeup artist says, “I always find that if you just put a tiny triangle across the jawline and buff that out, all of a sudden you’ve just added a shadow there which is just like a natural contour.”
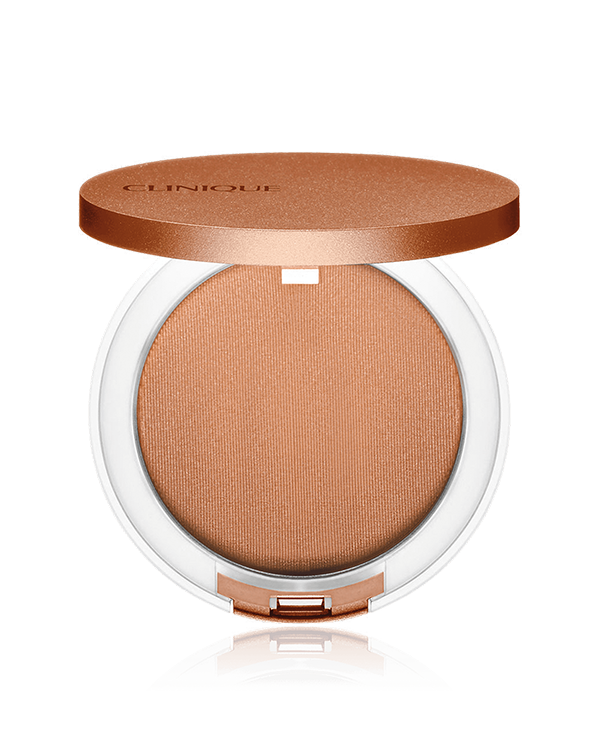
Step 6: True Bronze™ Pressed Powder Bronzer
Next up on this glass skin routine is a touch of bronzer, which will add some warmth to the look. Ross uses the True Bronze™ Pressed Powder Bronzer on the cheekbones, creating a sun-kissed radiance that is perfect for on-the-go glow.
As a buildable bronzer, you can easily blend and layer the product as desired until you achieve the level of bronze that you love. For a glass skin look, it’s all about creating a natural-looking finish and to do so, Ross recommends “not using a lot because it’s a really highly pigmented bronzer so a little goes such a long way.”
Simply bronze up the areas where the sun would naturally kiss the skin, creating a number three shape along the sides of your face. Start at the side of your forehead, make your way under your cheekbone and finish off along your jawline.
Step 7: Cheek Pop Pearl
Your glass skin makeup isn’t complete without a pop of colour on the cheeks and for this final step, Ross likes to mix a coral shade and a nude shade to create a natural glow that seamlessly complements the look.
Our Cheek Pop Pearl is available in 9 shades for every skin tone, all of them long-wearing, building and vibrant, yet effortless and natural-looking. Apply your perfect shade (or shades) on the apples of your cheeks and your glass skin is finished!

Final Touches for the Perfect Glass Skin Makeup
Once your base looks radiant and flawless, you can complete your look with some eye and lip makeup.
Ross likes to use the Chubby Stick Shadow Tint for Eyes all over the base of the eye, smoothing it out with a blending brush and layering more product as desired, to create a deeper smokey eye. Then, he goes in with Lash Power Mascara Long-Wearing Formula, applying it on the top and bottom lashes and making sure to get all the baby ones.
He brushes the brows up with the Just Browsing Brush-On Styling Mousse for a trendy feathered look, and finally, applies a coating of the Even Better Pop Lip Colour, pressing it on the lips with his fingers for a silky-smooth finish.
Spritz on some Moisture Surge™ Face Spray and your glass skin look is finished. Check out our skincare and makeup ranges and get everything you need for this gorgeous look. If you enjoyed learning how to get glass skin, head over to our Skin School for many more easy-to-follow tutorials featuring skincare and makeup experts!


Shop The Story